

Here is the complete bible of the resolutions! Thanks to Lui for doing the technical works
A. Scan - Flipbook
- 800*800
- B&W (adjust threshold/contrast)
- A3
B. Still Export - Flipbook
Use Default: 768*576, .bmp format
C. Line Tracing - Illustrator
- a.Set Actions:
Object/Line Trace/Detailed Illustration, mode:B&W, Threshold:160, Blur:0.1, amend settings on the righthand side. make sure Strokes is ticked! - b.Batch Actions:
Save in seperate folder. .ai format
D. Change format - Photoshop
- when open .ai image, choose open with 300 resolution. (Auto default size:2496*2046}
- The image should be lines on transparent bg. Save as .psd, in seperate folder
E. Colouring - Painter
- paint on second layer underneath the lines.
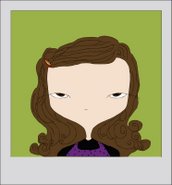
- colour the canvas green/red
- erase any un-needed lines
- save as full quality .jpg in seperate folder
Folder system:
under one folder named after the scene and shots (eg. Chicken_bump), we will have 4 folders - bmp stills, ai stills, psd stills, jpg stills
We will colour with the doubled resolution, because the quality will be constantly reduced in After Effect, Premiere and DVD making. Illutrator tracing will give good quality of the outlines and a higher resolution of the image.
No comments:
Post a Comment